

 View Gallery
1 photo
View Gallery
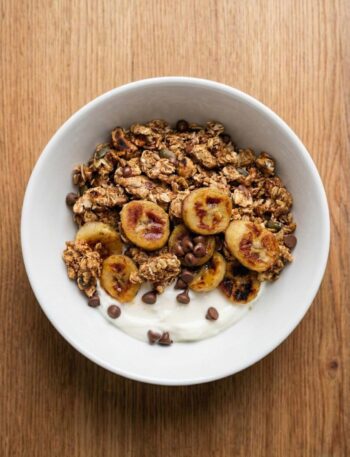
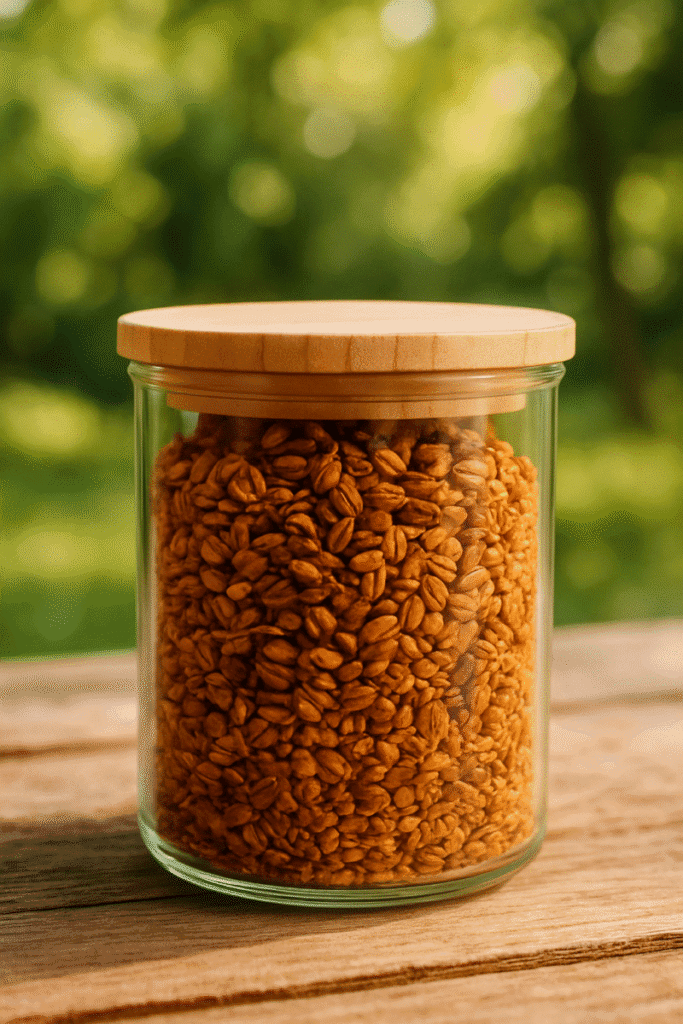
1 photo You’ll fall in love with this maple pecan granola recipe — it’s everything a cozy morning should smell like. Imagine warm maple syrup, toasted coconut, and crunchy pecans filling the kitchen with a golden aroma. It’s wholesome, naturally sweet, and perfect for topping yogurt or enjoying straight from the jar. This is your go-to breakfast crunch that’s better than anything you’ll find at the store.
As an Amazon Associate, I may earn from qualifying purchases — I only recommend tools I personally trust and love using.
Quick Ingredient Highlights
Rolled Oats – 1 cup, hearty and wholesome base
Shredded Coconut – 1 cup, adds a hint of sweetness
Chopped Pecans – 1 cup, buttery and crunchy texture
Plant-Based Butter – 2–3 tbsp, helps everything stick together
Maple Syrup – ½ cup, pure liquid gold sweetness
Salt – 1 pinch, balances all the flavors
How to Make Maple Pecan Granola
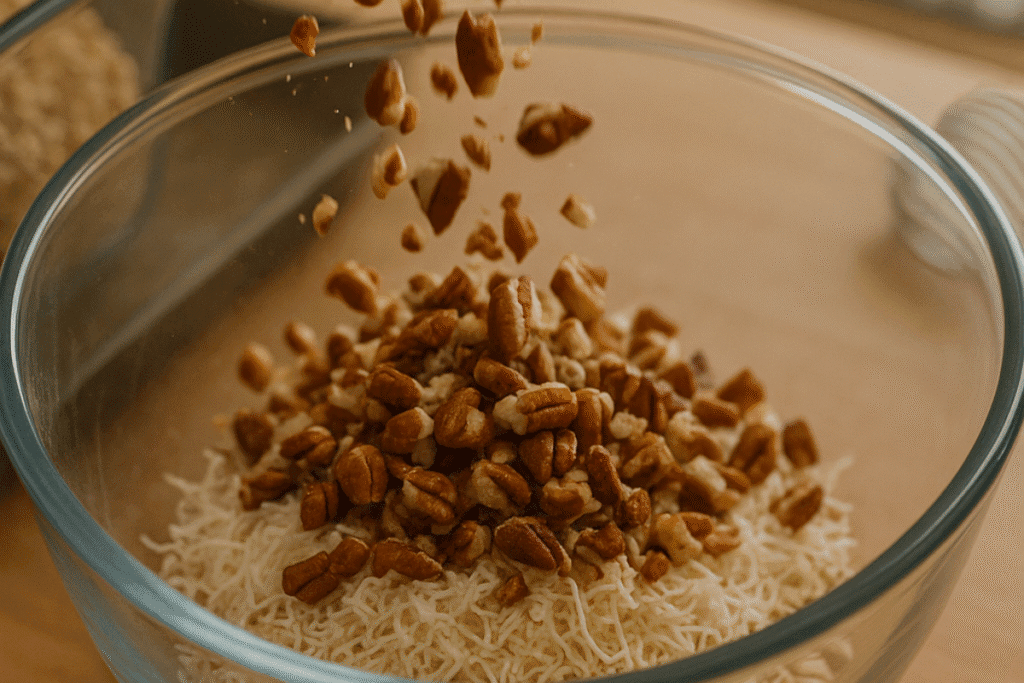
STEP 1 – Combine Dry Ingredients
Add rolled oats, shredded coconut, and chopped pecans to a large glass mixing bowl (I love the Pyrex 4-Quart Glass Bowl — it’s sturdy and see-through, perfect for mixing evenly).
Stir gently with a wooden spoon until everything is evenly combined.
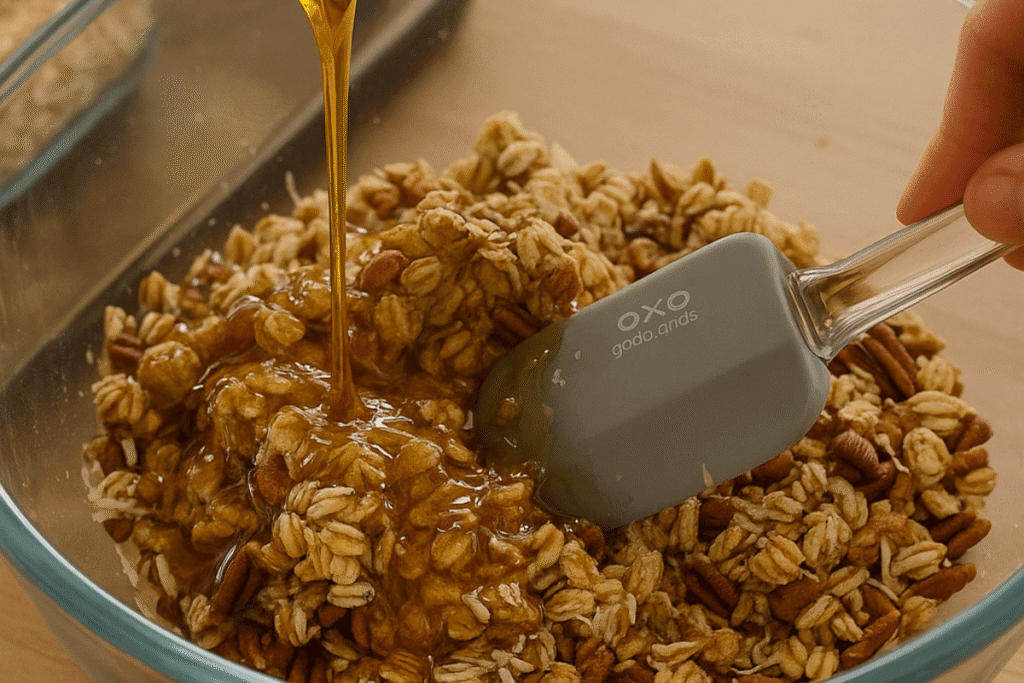
STEP 2 – Add Melted Butter and Maple Syrup
Pour in 2–3 tablespoons of melted plant-based butter and ½ cup of maple syrup.
Use a heat-resistant silicone spatula (OXO Good Grips Silicone Spatula is a great one — flexible yet durable) to coat all the oats and nuts evenly.
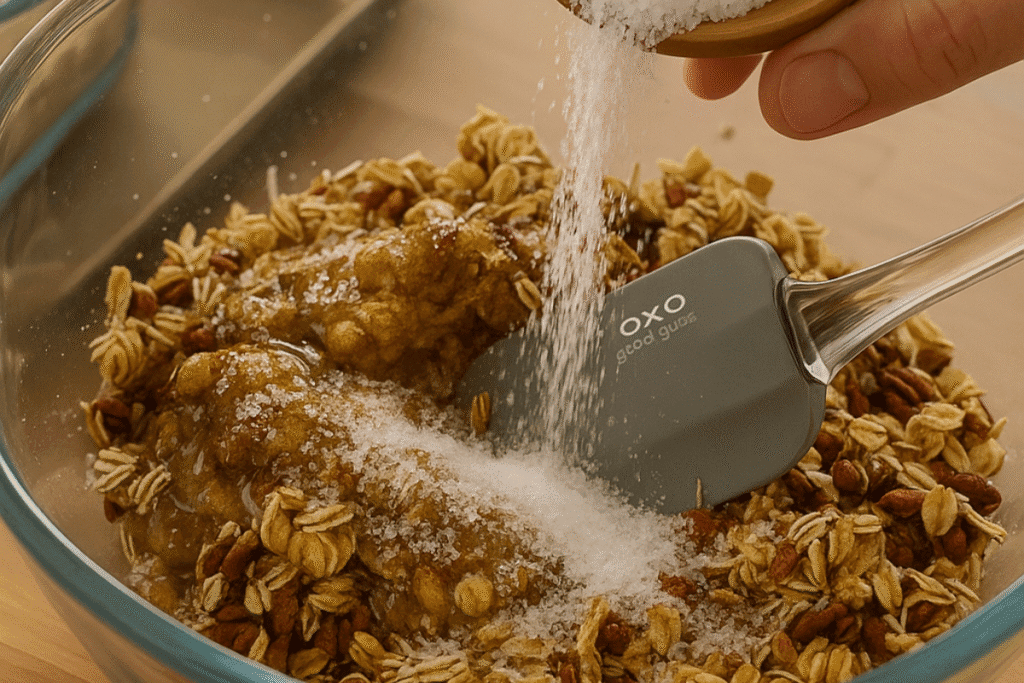
STEP 3 – Season Lightly
Add a generous pinch of salt to balance the sweetness and enhance the maple and pecan flavors.
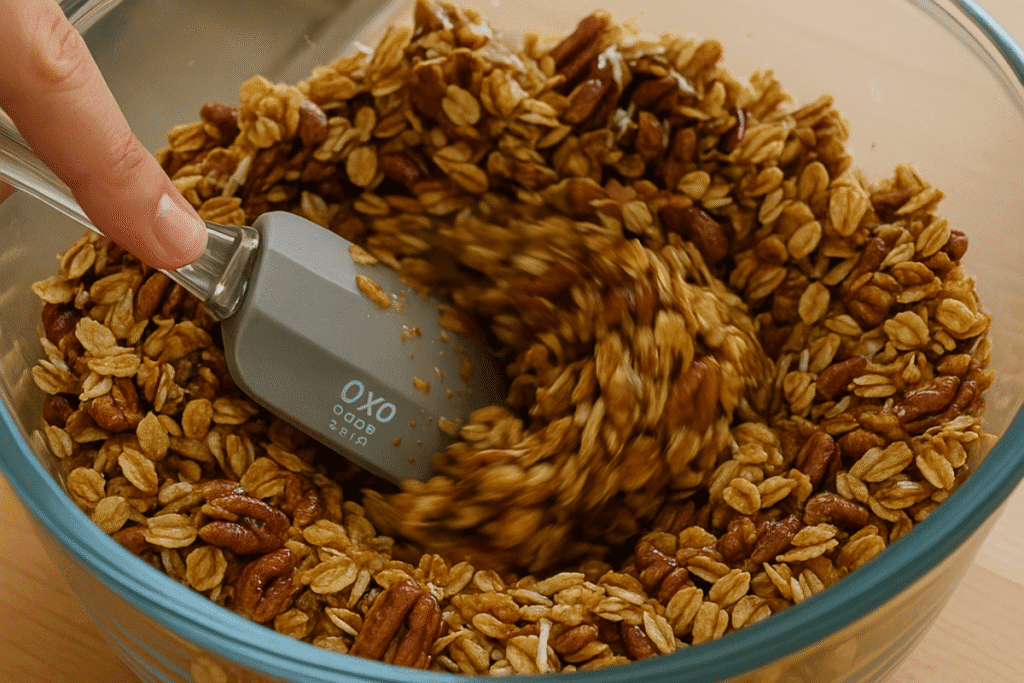
STEP 4 – Mix Thoroughly
Continue mixing until every cluster looks glossy and evenly coated — this helps your granola bake up perfectly crisp and golden.
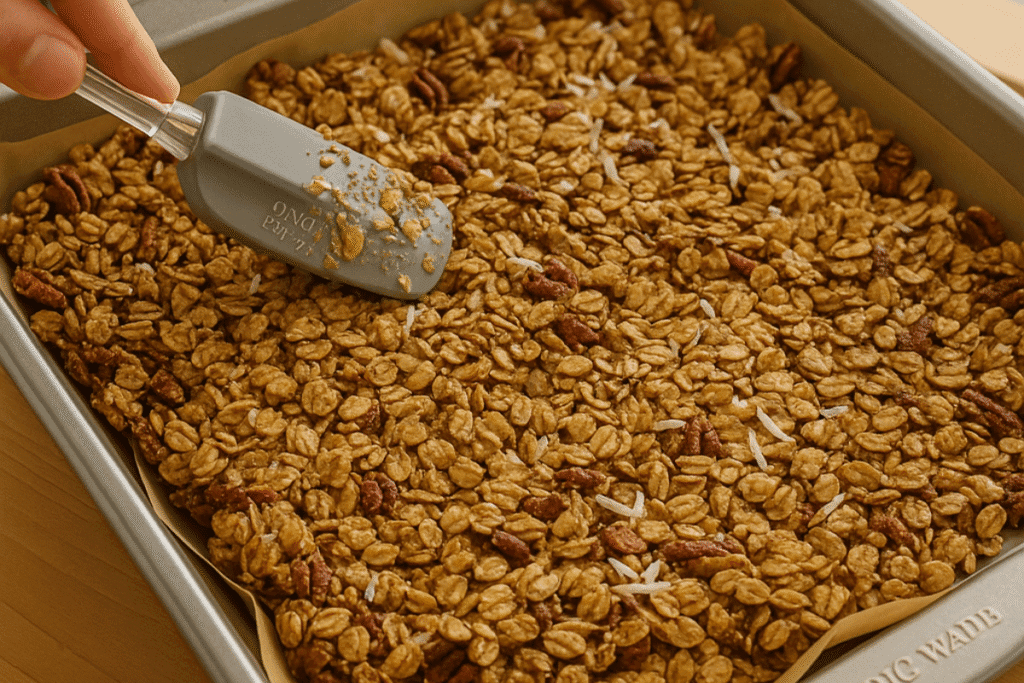
STEP 5 – Prepare the Baking Tray
Line a rimmed half-sheet baking pan (Nordic Ware Natural Aluminum Half Sheet — bakes evenly and lasts for years) with parchment paper.
Spread the granola mixture evenly in a single layer.
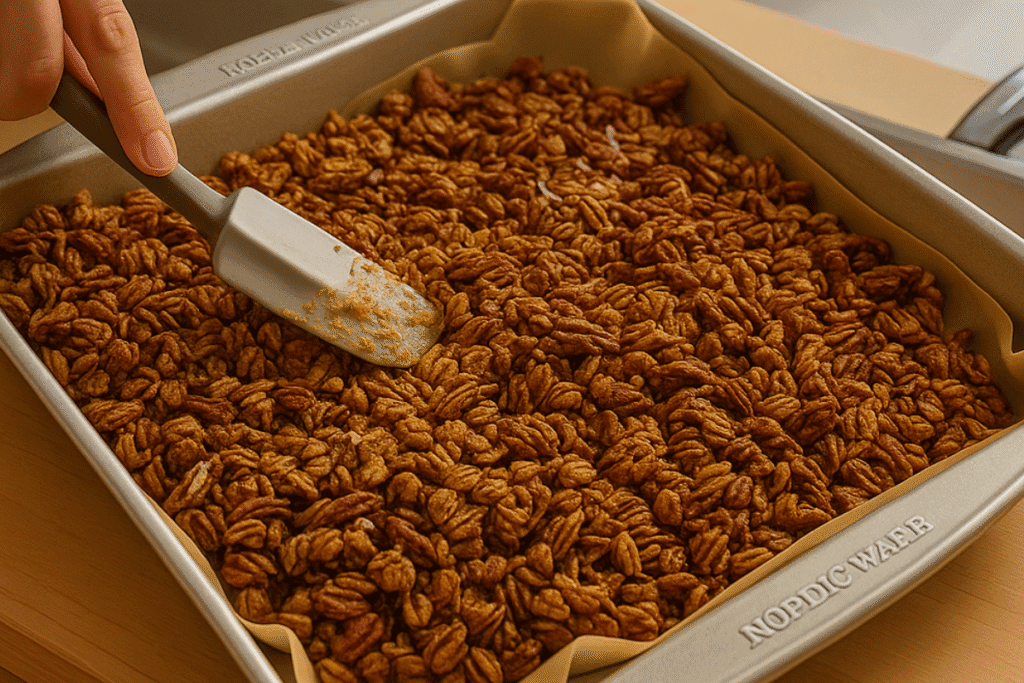
STEP 6 – Bake Until Golden
Bake in a preheated oven at 180°C (350°F) for 25–35 minutes.
Stir every 8 minutes using the silicone spatula for an even, golden bake.
STEP 7 – Cool Completely
Remove from the oven and let the granola cool completely.
It will firm up and become wonderfully crisp as it cools.
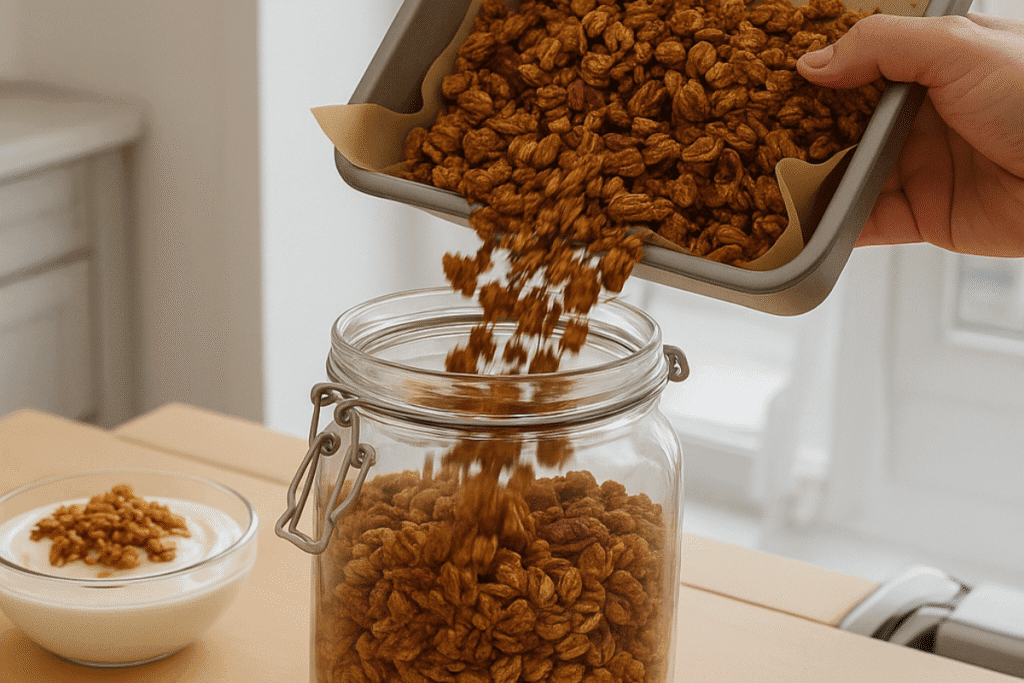
STEP 8 – Store and Serve
Once cool, transfer the granola into an airtight glass jar or storage container.
Enjoy it over yogurt, milk, or as a crunchy snack on its own.
Maple Pecan Granola
Crunchy, sweet, and homemade — this maple pecan granola recipe combines oats, pecans, and maple syrup for the ultimate cozy breakfast.


Maple Pecan Granola Ingredients
Nutrition Facts
Servings 6
- Amount Per Serving
- Calories 247.3kcal
- % Daily Value *
- Total Fat 14.2g22%
- Saturated Fat 4.6g23%
- Sodium 67mg3%
- Potassium 176mg6%
- Total Carbohydrate 26.9g9%
- Dietary Fiber 3.2g13%
- Sugars 11.3g
- Protein 4.3g9%
- Vitamin A 25 IU
- Calcium 28 mg
- Iron 1.09 mg
- Vitamin E 0.82 IU
- Vitamin K 0.65 mcg
- Thiamin 0.15 mg
- Riboflavin 0.05 mg
- Niacin 0.58 mg
- Vitamin B6 0.07 mg
- Folate 15 mcg
- Biotin 3 mcg
- Pantothenic Acid 0.2 mg
- Phosphorus 110 mg
- Iodine 2 mcg
- Magnesium 39 mg
- Zinc 0.93 mg
- Selenium 2.1 mcg
- Copper 0.2 mg
- Manganese 0.6 mg
- Chromium 1 mcg
- Molybdenum 4 mcg
- Chloride 40 mg
* Percent Daily Values are based on a 2,000 calorie diet. Your daily value may be higher or lower depending on your calorie needs.
Note
Use old-fashioned rolled oats, not instant — they stay crunchy.
Mix everything well so all oats and nuts are evenly coated.
Spread in a thin layer on the tray for even baking.
Stir every 8 minutes while baking to prevent burning.
Don’t overbake — it crisps up as it cools.
Cool completely before storing, or it’ll turn soft.
Store in an airtight jar to keep it crunchy for up to 2 weeks.
Add dried fruit after baking, not before, to avoid burnt fruit.
Swap nuts or syrup to match your taste — it’s flexible.
For extra crunch, bake 2–3 minutes longer and don’t stir at the end.
Pin this recipe to share with your friends and followers.
Frequently Asked Questions
Q1: Can I make this Maple Pecan Granola gluten-free?
Yes! Just use certified gluten-free rolled oats. The rest of the ingredients are naturally gluten-free, so it’s an easy swap.
Q2: Can I use honey instead of maple syrup?
You can, but keep in mind honey is slightly sweeter and stickier than maple syrup. If you’re fully vegan, stick with maple syrup — it gives a rich, cozy flavor.
Q3: How do I get big crunchy clusters?
To make chunky clusters, don’t stir during the last 10 minutes of baking. Let the granola cool completely on the pan before breaking it apart.
Q4: How long does homemade granola stay fresh?
If stored in an airtight container at room temperature, it stays crunchy for up to 2 weeks. For longer storage, freeze it for up to 2 months.
Q5: Can I add other ingredients like chocolate or dried fruit?
Absolutely! Add dried fruit after baking (so it doesn’t burn), or toss in dark chocolate chips once the granola has cooled for a sweet twist.
Q6: What’s the best way to serve it?
Serve over yogurt, with milk, or just as a grab-and-go snack. It’s also amazing sprinkled on smoothie bowls or ice cream for extra crunch.
Q7: Do you use AI to help create your recipes?
Yes — I use AI tools to help organize, format, and polish the blog post for clarity and SEO. The recipe itself, though, is based on real kitchen techniques and ingredients I trust.


